Basic Photography Tips for Social Media Success
April 2, 2020
Social media (especially Instagram) is such a visual platform. If you want to grow on social media, high-quality photos are important! I wanted to provide some basic photography tips to help you uplevel your social media! You don’t need a professional photographer 100% of the time. You don’t need a fancy camera. You don’t need to spend hours taking or editing photos. While I’m a HUGE advocate for hiring a professional photographer for your brand, I think it’s so important to supplement your professional photos with more casual, less-polished, more real and raw photos every now and then.
These are tips I learned through my own research, experimentation, and by some of the photographers I am mentored by in the hair and skincare business I’m partnered with! And believe me, I’m nowhere near a photography expert. This is something that I don’t feel highly-skilled in but I am working to improve on this! Keep reading for the photography tips and strategies I’ve learned so far.

First tip: Clean your camera lens! This is so underrated. Before you shoot and photo or video content, I encourage you to wipe off your camera lens with your shirt or a gentle, non-textured cloth to remove any fuzz, dirt, smudges. It will make a HUGE difference!
Turn off artificial light. Yellow light (like most of us have in our house!) can be extremely unflattering. It makes your hair and skin look yellow-brassy colored and we don’t love that look. So, turn the artificial lights off in ALL rooms next to you. The best, most flattering lighting for your photos is natural light, which means you should shoot next to a WINDOW! This gives you bright eyes, even skin tone, and natural shine and color to your hair.
If you’re taking a selfie or taking a photo of ANYTHING, you should always *tap* on the focal point on your phone screen. This will allow your camera to focus on whatever you want it to focus on! It will also help remove any blurriness or fuzziness on your photo.
In general, take TONS of photos! Hand in hair. Hand on hip. Hand holding a prop. Both hands in hair. Look at the camera. Look to the right. Look down. Just keep snapping tons of photos! No need to be embarrassed by this. The truth is, the more photos you take, the more likely you’ll be to find one you like! After you take tons of photos with different poses, different angles, etc. you’ll be able to look through them and decide which 1-2 are your favorite! Then, you can delete the rest and focus on editing your 1-2 favorites to post on your social media platforms.
One thing I am SO picky about is before and after photos. When you’re sharing before and after photos for your skincare business, weight loss products, or whatever it may be… you need to have an extremely consistent background, angles, and lighting. There is nothing worse than before and after photos that look extremely inconsistent. This can misconstrue your customers and give your business a bad look. So, if before and after photos are a part of your business, be sure to be consistent!
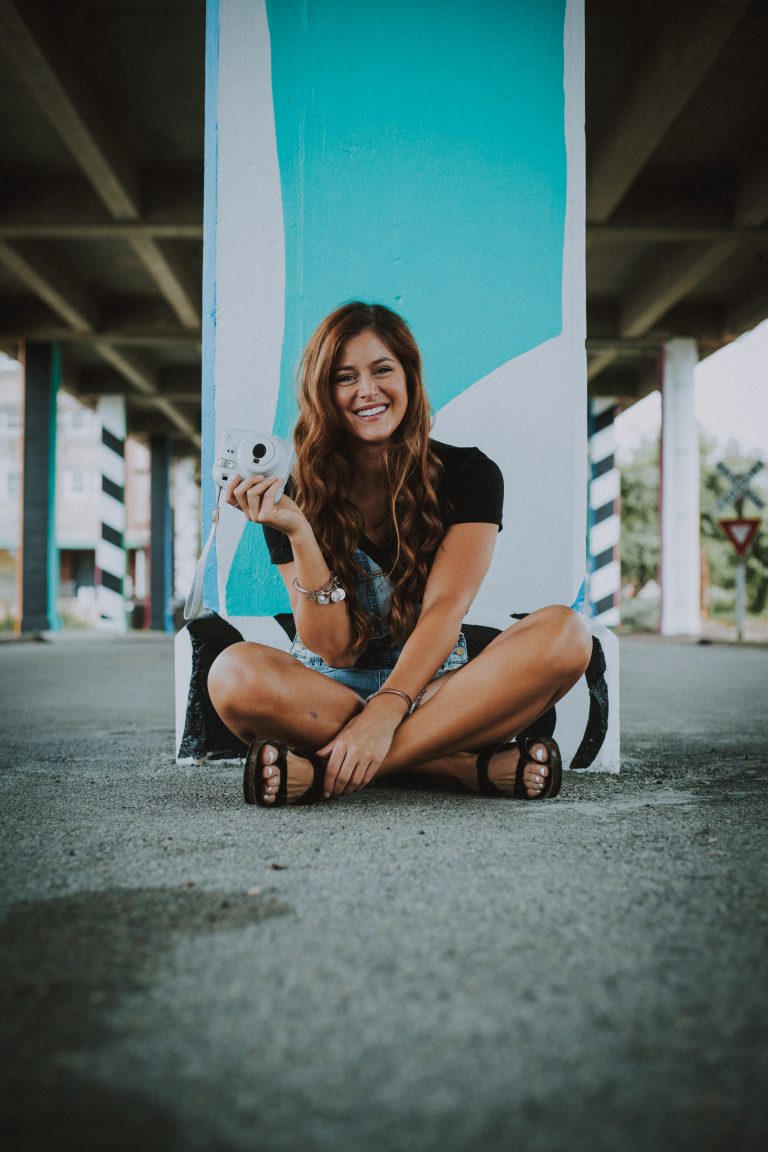
I highly, highly recommend using photos in portrait mode (vertical) as often as you can for social media, as opposed to landscape (horizontal). Portrait photos take up more “real estate” on your viewer’s screen, meaning it’s more eye-catching and attention-grabbing.

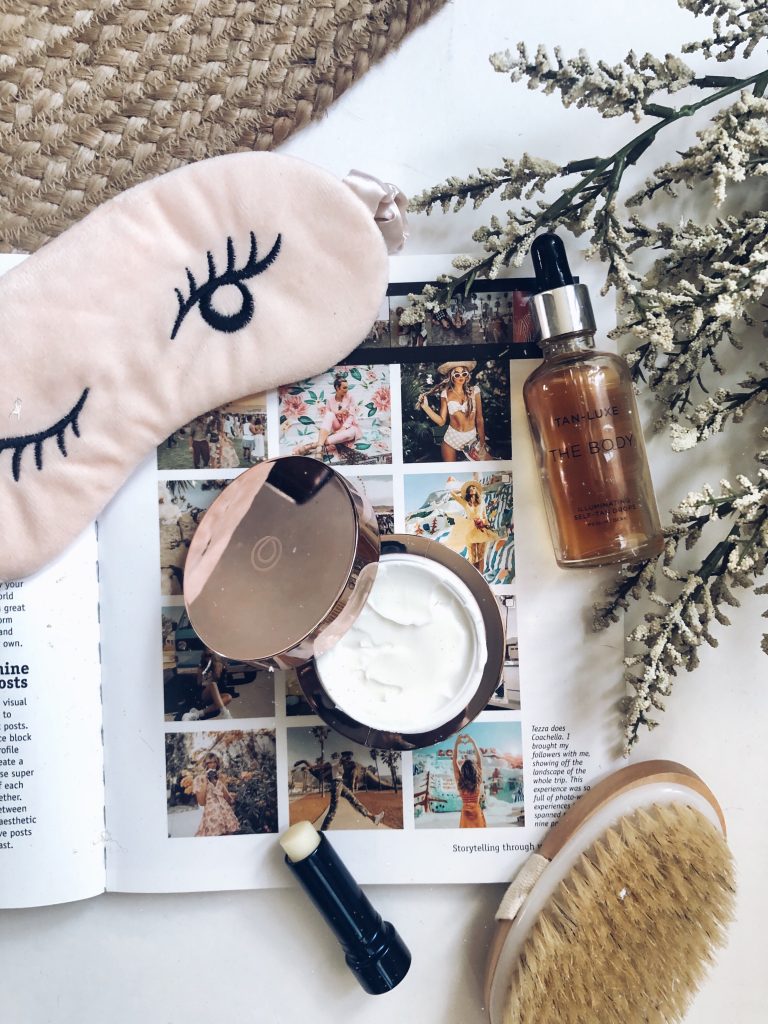
*Note: This photo above is a “flat lay” photo that I could create a whole separate blog post about! Would you like a blog post with tips on how to create flat lays for creative product photos? Leave a comment at the end of this blog post to let me know!
I really wanted this blog post to just cover the very basics of photography, but if you’re looking for some more advanced tips, check out this great blog post about Instagram photos.
If you take all of these tips into account, then it’s time to make some edits! Just know that learning basic photography tips is SO important before you prioritize photo editing.
In regards to editing, everyone has their own style! You may like dark, heavy contrast and shadows while someone else prefers a bright, light, natural look. I encourage you to experiment and find your own style! One of my favorite photographers that I follow on social media recommends to play around with the Exposure, Contrast, Saturation, etc. within the camera app on your phone! She says to experiment with these editing tools and to increase and decrease them and make the photo look horrible just so you can figure out exactly what they do!
My personal brand photographer, Danielle, recommends to turn your brightness up on your phone when you’re editing a photo. I keep my brightness SO LOW on my phone to help protect my eyes, so whenever I’m editing, I dial it up a little bit!
If you like the way I personally edit my photos for Instagram and Facebook, check out a blog post on that HERE. It’s seriously so easy. I prefer a more natural look, so I don’t do a ton of editing but I do really like the color scheme I use!
Like anything, it’s all about practice! I’m still learning and practicing every day and I definitely do not claim to be a photography expert. I look back at some of the photos/edits on my Instagram and think, “YIKES, did I really think that looked good?!”. So, it happens! But it is really fun to see your progress over time when you keep practicing and improving your skills.

Thank you SO MUCH for being here!
Want to help your girl out and PIN the image below to link my blog post on Pinterest? 🙂 Thank you for reading!

Leave a Reply Cancel reply
Free resource: 30 days of content
want to increase engagement and trust on social media? download OUr free social media guide!
Thanks, You'll be added to our newsletter
Terms of Use
INFORMATION:
Based out of illinois
HOurs of operations are 9 am - 5 pm CST
Terms and Conditions
Privacy Policy
leave us a comment!